
Last updated November 15, 2026
 Sweep & inspection
 Caps & crowns
 Flue relining
 Masonry repair
 Gas fireplace service
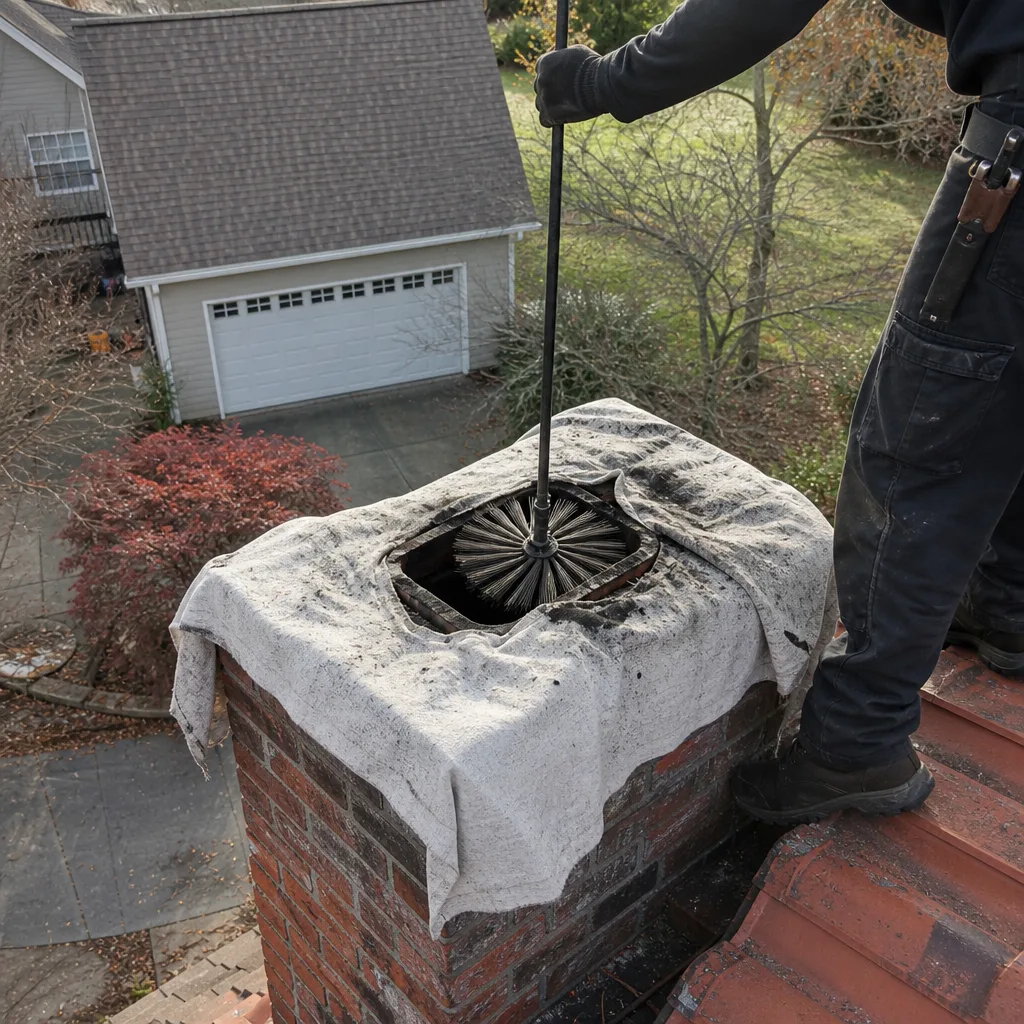
Level 1 sweep and inspection to the NFPA 211 annual standard - flue, crown, cap, and flashing checked and photographed
Chimney sweep logs do not sweep chimneys. They loosen some creosote - which then falls where a brush and vacuum still have to collect it.
Chimney Sweep Troubleshooting in Louisville: Common Problems and How to Fix Them
Smoke backing into your living room isn’t a fireplace problem. It’s a pressure problem, and the fix depends entirely on whether the culprit is your damper plate, your flue liner, or your roofline clearance. Get that diagnosis wrong and you’ll call a sweep twice: once for a cleaning that doesn’t solve it, and again for the repair you actually needed. Most homeowners in Louisville chalk these symptoms up to a “bad draft” or an “old chimney” and stop there. That’s where the guessing starts. This guide maps specific symptoms to specific failed components so you can describe what’s happening accurately, understand what a technician will look for, and know which problems need a full inspection before anyone picks up a brush.
Quick Answer
Most chimney problems in Louisville trace to one of five components: a damper that won’t seal or open, a cracked or deteriorated flue liner, spalling masonry from the freeze-thaw cycle, a failed crown, or a blocked flue from glazed creosote or a debris cap. Match your symptom to the component first – smoke rollout points to pressure or damper issues, staining points to moisture or liner failure, slow ignition points to draft or blockage – then book the right level of service. A standard sweep handles creosote and blockage; anything involving the liner, crown, or masonry needs a Level 2 inspection and repair capability on the same visit.
Styles & brands we work with
- Sweep & inspection
- Caps & crowns
- Flue relining
- Masonry repair
- Gas fireplace service
Table of Contents
- Symptom-to-Component Map: What Your Chimney Is Telling You
- Smoke Rollout: Pressure, Damper, or Clearance?
- Staining Patterns: Efflorescence, Brown Streaks, and Rust
- Why Louisville’s Freeze-Thaw Cycle Accelerates Masonry Failure
- Damper Problems: Won’t Seal vs. Won’t Open
- When a DIY Rod Kit Makes Things Worse
- Level 1 vs. Level 2 Inspection: Which Symptom Clusters Need Which
- Prevention: What to Check Before Burning Season
Symptom-to-Component Map: What Your Chimney Is Telling You
Your chimney system reports its failures through symptoms long before it becomes a hazard. The skill is reading them accurately. Here’s how we map what homeowners describe to the component most likely responsible.
- Smoke rolling out of the firebox opening – pressure imbalance, a damper that isn’t fully open, a flue that’s undersized for the appliance, or negative pressure from a tight house competing with exhaust fans. Rarely a “dirty chimney” alone.
- White, powdery staining on exterior brick – efflorescence, which means moisture is migrating through the masonry and depositing salts on the surface. It’s a water problem, not a cosmetic one.
- Brown or dark staining above the firebox on interior brick or the smoke chamber – chronic smoke spillage escaping past a warped or non-sealing damper plate. The stain is the trail the smoke left.
- Slow ignition, fire that struggles to catch, or a fire that dies down – restricted draft from a partial flue blockage, glazed creosote narrowing the flue, or a cap screen clogged with debris.
- Rust streaks or water in the firebox after rain – a failed or missing cap, a cracked crown, or flashing failure letting water into the system.
- Loose mortar crumbs on the smoke shelf or firebox floor – mortar joint failure in the smoke chamber or flue, often the first visible sign of freeze-thaw damage working inward.
One symptom rarely tells the whole story, and two symptoms together narrow the diagnosis fast. Brown staining plus slow ignition almost always means a damper problem paired with a restricted flue. Efflorescence plus crumbs in the firebox points to moisture intrusion driving joint failure. When you call, describe what you see rather than what you assume, and the technician can book the right service level on the first visit instead of discovering it midway through a cleaning.
Smoke Rollout: Pressure, Damper, or Clearance?
Smoke backing into the room is the single most misdiagnosed chimney complaint. Homeowners assume the flue is dirty. Sometimes it is. More often, the chimney is competing with the house itself.
Modern homes in Louisville are tighter than the houses the chimneys were originally built for, and tight construction changes the pressure balance inside the house. A kitchen exhaust fan, a dryer, a bathroom vent, or a high-efficiency furnace pulling combustion air can all create negative pressure that overwhelms the chimney’s draft. In older neighborhoods where windows have been replaced and insulation upgraded, this shows up as smoke that rolls out only when the house is buttoned up, and burns fine with a window cracked. That’s the tell for a pressure problem.
Before you assume a pressure issue, rule out the simpler causes:
- The damper. Is it fully open? Is the plate warped so it doesn’t sit flat and redirects smoke back into the room? A damper that opens but doesn’t seal can still cause rollout when the fire is first lit.
- The flue. A partially blocked flue – glazed creosote, a fallen debris cap screen, a bird nest – reduces draft and forces smoke back out the opening.
- Flue sizing. An appliance vented into a flue that’s too large or too small for it will draft poorly no matter how clean it is. A wood stove dumped into an oversized fireplace flue is a classic mismatch.
- Roofline clearance. A chimney that terminates too close to a nearby roof plane, a taller structure, or a tree can pull smoke back down. This is a design problem, not a cleaning problem.
Distinguishing these takes a diagnostic eye, not just a brush. If your fireplace only smokes when the house is sealed up, mention that on the call – it points the technician toward the pressure side of the diagnosis instead of assuming a dirty flue.
Staining Patterns: Efflorescence, Brown Streaks, and Rust
Stains are diagnostic. Which stain tells you which component is failing, and ignoring the wrong one turns a small repair into a liner replacement.
- White efflorescence on exterior brick. Salt deposits left behind when moisture moves through the masonry and evaporates. The moisture has to come from somewhere: a cracked crown, failed flashing, a missing cap letting rain in, or water wicking up from a foundation. Efflorescence itself is harmless, but the water path behind it slowly erodes mortar joints and freezes inside the brick, pushing the masonry apart. Left alone in Louisville’s winters, it becomes spalling.
- Spalling brick (faces flaking or popping off). The stage after efflorescence. Water saturated the brick, froze, expanded, and broke the face loose. Spalling masonry can let water reach the liner and the smoke chamber – it’s the point where a masonry repair becomes urgent.
- Brown or dark staining above the firebox. Chronic smoke spillage from a damper that isn’t sealing properly, or from draft problems pushing smoke back into the room. This is an interior stain, distinct from exterior water staining, and it tells you the smoke is escaping the system rather than going up the flue.
- Rust streaks on the chimney chase or firebox, water in the firebox after rain. Water entry from a failed cap or crown, or failed flashing where the chimney meets the roof. Water and a firebox don’t mix: moisture damages the liner and masonry from the inside.
- Dark, glossy creosote on the flue walls. Not a stain exactly, but a warning. Glazed creosote is the third stage of creosote buildup, hard and shiny, and it’s the most combustible. A standard brush doesn’t fully remove it, which matters later in this guide.
In our experience the exterior stains are the ones homeowners rubber-stamp as “just normal aging.” Efflorescence in particular gets dismissed because it wipes off. What it’s telling you is that water is finding a path, and in Louisville’s climate that path gets worse every winter. Catching it while it’s still efflorescence is a crown or flashing repair. Catching it after spalling starts is masonry work.
Why Louisville’s Freeze-Thaw Cycle Accelerates Masonry Failure
Louisville sits in a climate band where winters routinely swing above and below freezing. That swing is the specific mechanism that drives masonry failure faster here than in drier or more consistently cold climates.
Here’s what happens. Water soaks into brick and mortar joints. A cold night freezes it. Water expands as it freezes, and that expansion pushes into the pores of the brick and the joints. The next day it thaws and the water drains or evaporates. Then it freezes again. Each cycle widens the cracks a little more. Over a winter with dozens of freeze-thaw cycles, hairline cracks in mortar become open joints, and sound brick faces start to spall.
In a drier climate, masonry gets wet and dries out; in a consistently cold climate it freezes once and stays frozen. Louisville gets the worst case: repeated wet-dry and freeze-thaw cycles that fatigue the masonry all winter. Chimneys on older housing stock – and Louisville has plenty – carry the accumulated damage of many winters, often with a liner that’s aged alongside the brick.
What to look for that predicts a liner crack before you have one:
- Mortar crumbs on the smoke shelf or firebox floor. Joints are failing somewhere above.
- Visible cracks in the exterior mortar joints, especially on the south and west faces where sun drives freeze-thaw hardest.
- Hairline cracks in the clay tile liner visible during an inspection. Cracks in the liner let heat and combustion gases reach the masonry, which accelerates the cycle from the inside.
- A crown with visible cracks or that’s pulling away from the flue. A failed crown is the top entry point for the water that starts the whole cycle.
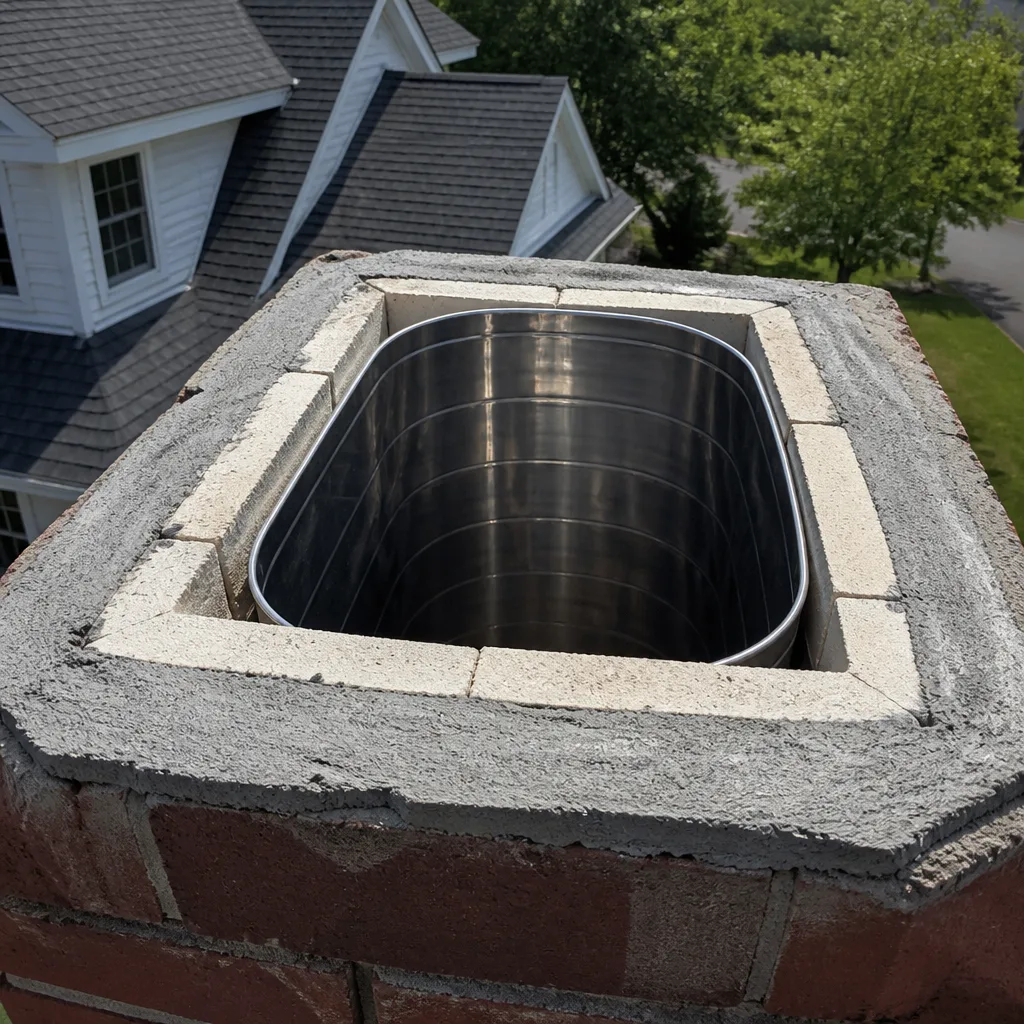
When the freeze-thaw damage has reached the liner, spot patching won’t hold. That’s when a HeatShield resurfacing system or a DuraFlex liner becomes the right repair, because both address the root problem rather than the visible symptom.
Damper Problems: Won’t Seal vs. Won’t Open
A damper that won’t seal and a damper that won’t open look like the same complaint, but they’re different failures with different fixes. Getting this right saves you from a repair that doesn’t solve anything.
A damper that won’t seal
The damper closes but doesn’t seal tightly, so the house leaks warm air up the flue all winter, and when you light a fire the warped plate redirects smoke back into the room. The typical cause is a warped, rusted, or bent plate on a traditional throat damper, or a pivot that’s worn. Traditional throat dampers are the most common failure point in older Louisville fireplaces.
The fix is usually a top-sealing or plate-and-chain damper replacement. Brands like Lyemance and Lock-Top make top-sealing dampers that cap the flue at the top of the chimney, giving a much tighter seal and stopping the air loss. A properly installed replacement damper also improves draft because it addresses the top-of-chimney opening, not just the throat.
A damper that won’t open
The damper is stuck shut or stuck partway, and the fire won’t draft. Two causes. The first is mechanical: the handle, pivot, or linkage has jammed, or the damper has come off its track. The second is corrosion: rust has locked the plate to the frame, common after years of moisture and disuse. Corrosion-locked dampers often need the assembly replaced rather than forced, because forcing it bends the plate and you end up with a damper that opens but won’t seal – back to problem one.
If your damper won’t open, don’t force it. Describe whether the handle moves freely, whether you can see the plate move, and whether it feels stuck or loose. That tells a technician whether it’s a linkage issue or a corrosion issue before they arrive, which changes what parts are likely needed.
When a DIY Rod Kit Makes Things Worse
A rod-and-brush kit from a hardware store is fine for light, dry, fluffy creosote – the first-stage buildup a fireplace produces in a season or two under normal use. It’s the wrong tool for two specific situations, and both make the problem worse.
The first is glazed creosote. Stage three glazed creosote is hard, shiny, and bonded to the flue wall. A stiff brush skips across the surface or knocks small chunks loose without removing the bonded layer. What it does do is redistribute the glazed material down the flue and into the smoke chamber, where it can’t be reached with a rod at all – and now a sweep has to deal with glazed creosote in the smoke chamber on top of the flue. Glazed creosote is also the most combustible form, which is the precise thing you don’t want loosened and piled up.
The second is a blockage. If the flue is blocked by a fallen debris cap, a bird nest, or a chunk of failed liner, pushing a rod into it from below can jam the blockage tighter, or dislodge it so it falls onto the smoke shelf out of reach. A blocked flue is a draft problem, and the fix is to remove the blockage, not push a brush into it.
The right tool changes with the problem. Standard creosote comes off with a rotary brush. Glazed creosote is addressed with chemical treatments and the right mechanical method, sometimes over more than one visit. And a blocked flue is diagnosed with a camera before anyone sweeps, so the technician knows what’s in there and where it is. That camera inspection also produces a photo record you can see for yourself – which is the difference between a technician telling you what’s wrong and being able to show you.
Level 1 vs. Level 2 Inspection: Which Symptom Clusters Need Which
The NFPA 211 Standard for Chimneys, Fireplaces, Vents, and Solid Fuel-Burning Appliances defines three inspection levels, and knowing the difference tells you whether a sweep visit is enough or you need a full inspection before any cleaning starts. This matters because a Level 2 inspection sees the inside of the flue and the hidden portions of the system that a standard sweep never touches.
Level 1 inspection
The standard visit, done as part of a routine cleaning. It covers accessible portions of the chimney, firebox, and appliance, and confirms the system is sound for continued use. This is what a yearly sweep includes when nothing looks wrong and your use pattern hasn’t changed. It does not inspect the flue interior with a camera.
Level 2 inspection
A camera-based inspection of the flue interior, smoke chamber, and accessible portions of the system, including from the top where safe and accessible. It’s done when the situation calls for a deeper look. The NFPA 211 standard lists the triggers – among them a change in the appliance type, a change in fuel, a chimney fire, a building sale, a major weather event, or an unexplained symptom. On a practical level, these symptom clusters call for a Level 2 before any cleaning:
- New staining, efflorescence, or spalling on the exterior – moisture is either in the system or getting in, and you need to see the liner before you sweep.
- Smoke rollout you can’t explain by a dirty cap or a closed damper.
- A known chimney fire, however small – even a small fire can crack a clay liner.
- You just bought the house or are about to. A Level 2 is the right baseline before you burn.
- You’re changing appliances – adding an insert, switching to a wood stove, or converting to gas.
- Slow ignition that a cleaning doesn’t fix – you need to see whether the flue is blocked, undersized, or compromised.
Level 3 inspection
Reserved for cases where a serious hazard is suspected and parts of the chimney or building need to be opened up to inspect. Rare, and usually follows a Level 2 finding.
What most homeowners misunderstand: a standard sweep and a Level 2 aren’t competing services – the Level 2 often comes first when the symptoms are there, because a sweep of a damaged flue can make things worse. When we run a chimney sweep visit and see any of the symptom clusters above, we stop and inspect before sweeping, and we show the camera footage so you can see the same thing we do. If the flue is sound, the sweep proceeds. If it isn’t, we tell you what the footage shows and what the repair involves.
Prevention: What to Check Before Burning Season
Most of the failures in this guide announce themselves early. A short check before the first fire of the season catches the small issues before they become liner cracks, and it costs nothing but a look.
- Look at the exterior masonry. Check mortar joints for visible cracks, look for spalling brick faces, and check for efflorescence. If you see crumbling joints or brick faces popping, that’s masonry work, not a cleaning.
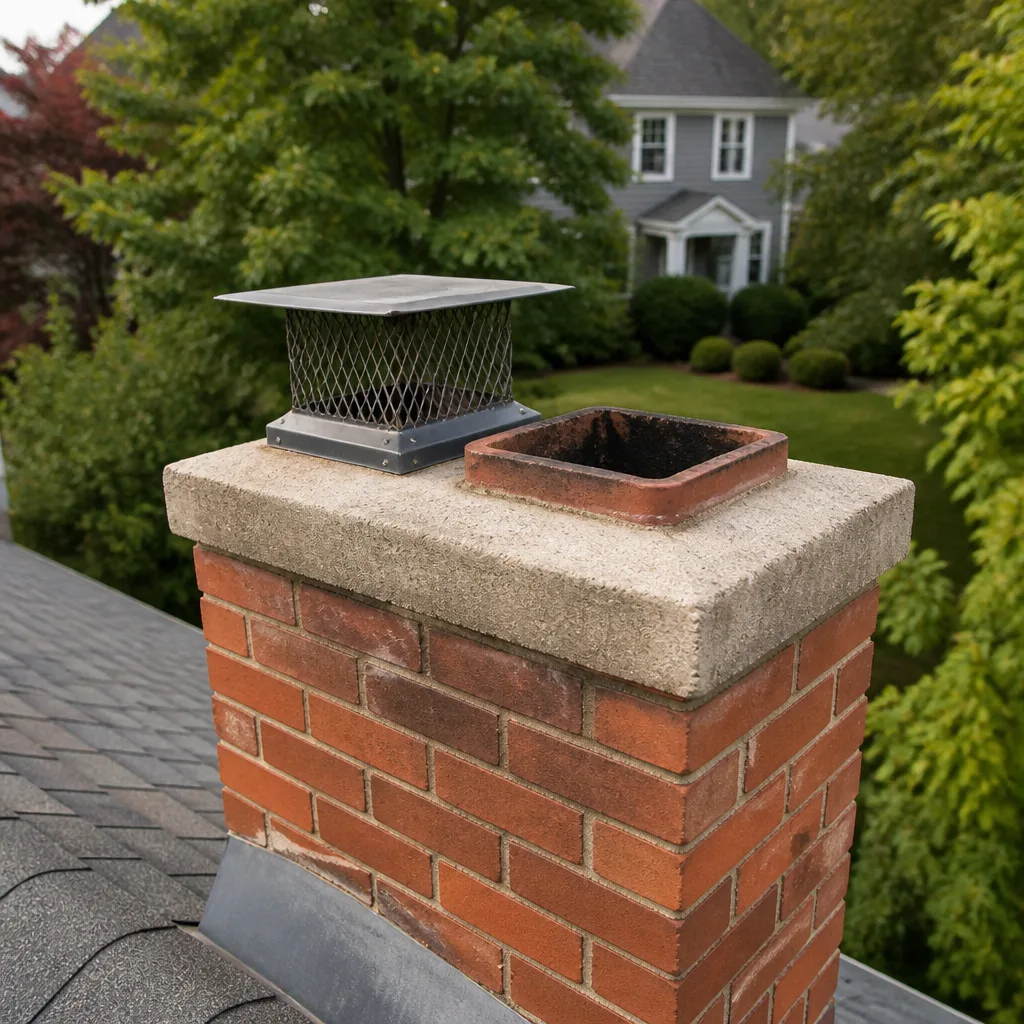
- Check the crown. The top concrete surface that sheds water away from the flue should be intact, uncracked, and sloping away from the flue. Cracks let the freeze-thaw cycle start from the top.
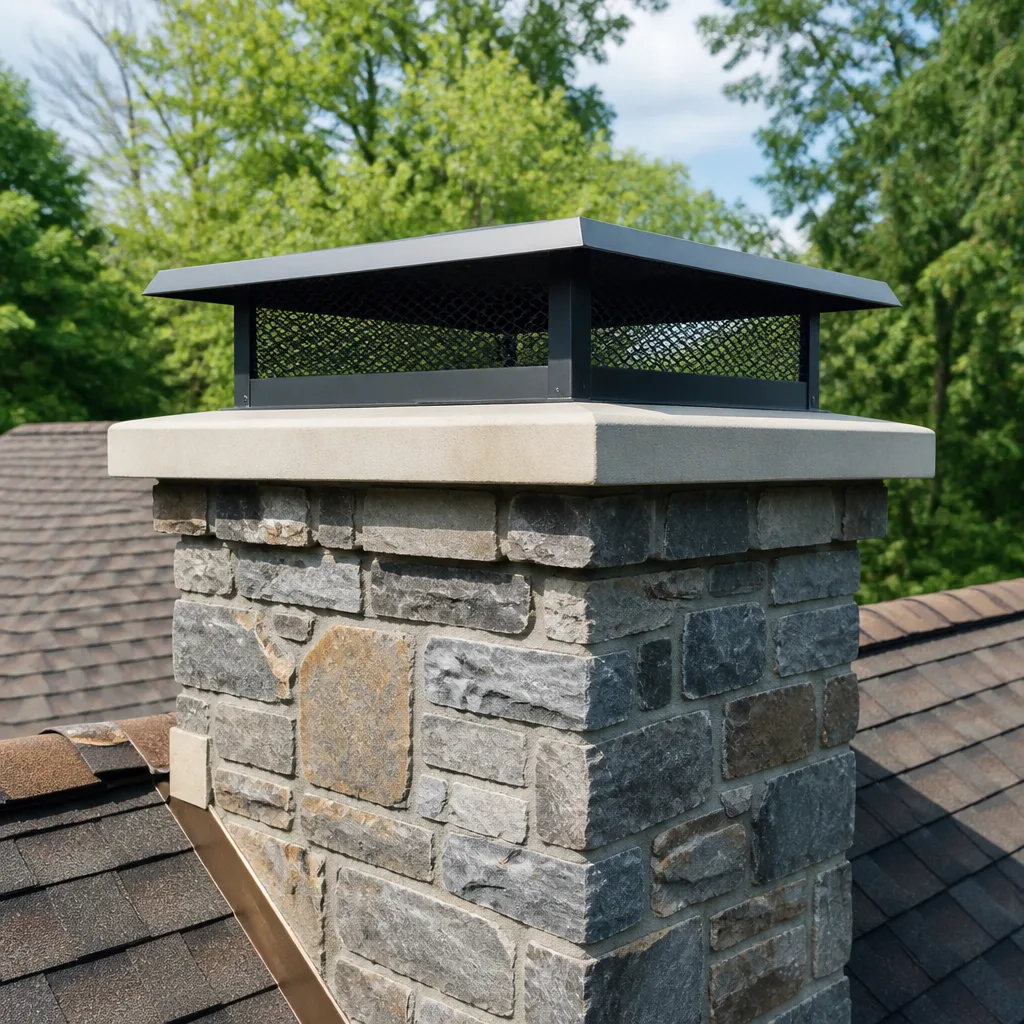
- Check the cap and cap screen. The cap should be intact and the screen clear. A missing cap lets rain, animals, and debris into the flue; a clogged screen restricts draft and causes slow ignition.
- Test the damper before you light anything. Open and close it fully. Does it move freely? Does it seat tightly when closed? A damper that opens but doesn’t seal or sticks partway is worth a call before you burn, not after.
- Look up the flue from the firebox. You can see the first few feet of liner. Look for visible cracks in the clay tile, gaps in the joints, or heavy creosote buildup. Don’t reach up with a tool – just look.
- Book the sweep before you need it. Creosote builds up all burning season. A cleaning before the season starts, or right at the end of it, means the system is clear when you want to use it and any issues surface while there’s time to schedule the repair.
Louisville homes on older stock deserve a closer look than newer construction. Original masonry on prewar houses has been through many winters of freeze-thaw, and the liner may be aged. That doesn’t mean it’s compromised – it means it’s worth a real inspection before you assume it’s fine. If you also have a fireplace insert or a wood stove, the venting arrangement is a separate check: an insert improperly vented into a fireplace flue is a common draft problem source.
Common Mistakes to Avoid
- Assuming a dirty chimney is the cause of rollout before checking the damper and the house pressure. Most rollout in tight, modernized Louisville homes is a pressure or damper problem first. A cleaning that doesn’t address the real cause means you burn again, smoke again, and call back.
- Skipping the Level 2 inspection because the sweep is booked. If you’ve got staining, unexplained rollout, or a changed appliance, the inspection comes before cleaning, not after. Sweeping a damaged flue can make the damage worse.
- Pushing a rod into a blocked flue to “clear it.” A blockage isn’t creosote, and forcing it can jam it tighter or drop it onto the smoke shelf out of reach. It’s a camera-and-remove job, not a rod job.
- Forcing a damper that won’t open. Forcing bends the plate, and you end up with a damper that opens but doesn’t seal, which is the other problem you were trying to avoid. Diagnose before you lever it.
- Treating glazed creosote like standard creosote. Stage three glazed creosote needs chemical treatment and the right mechanical method. A standard brush skips it and redistributes it, and glazed creosote in the smoke chamber is a fire hazard.
- Dismissing efflorescence as cosmetic. It’s moisture migrating through the masonry, and in Louisville’s freeze-thaw climate it’s the visible warning before spalling. Catching it while it’s just white powder means a crown or flashing repair; catching it later means masonry work.
- Taking a cleaning when the real issue is the venting setup. If an insert or wood stove was added and the flue size or venting never changed to match, no amount of cleaning fixes a mismatch. It’s a design problem that needs a real inspection and a venting repair.
When to Call a Professional
Some symptoms you can investigate yourself. These need a trained technician with inspection equipment and repair capability:
Any smoke rollout that isn’t explained by a closed damper or a visibly clogged cap. Any staining on exterior brick – efflorescence, brown streaks, or rust – because each one means water or smoke is escaping where it shouldn’t. Any known chimney fire, even a small one, because a cracked liner is invisible from the room. Any change in appliance, fuel, or venting. And any time you’re about to burn in a house you’ve just bought, before the first fire.
When the diagnosis leads to repair – a HeatShield resurfacing, a DuraFlex liner, a crown, a top-sealing damper – you want that on the same visit, not handed to a second contractor who has to re-diagnose what was already found. We repair what we find, with professional-grade materials from brands like HeatShield and DuraFlex, so a cleaning that reveals a liner crack doesn’t turn into two appointments with two companies.
Louisville Chimney Cleaning offers free estimates in Louisville – call (844) 560-6386. We answer 24/7. Fast dispatch from 7am to 7pm, Sunday through Friday. Our technicians have up to 13 years of experience, and no repair is recommended without camera evidence you can see for yourself.
See the difference
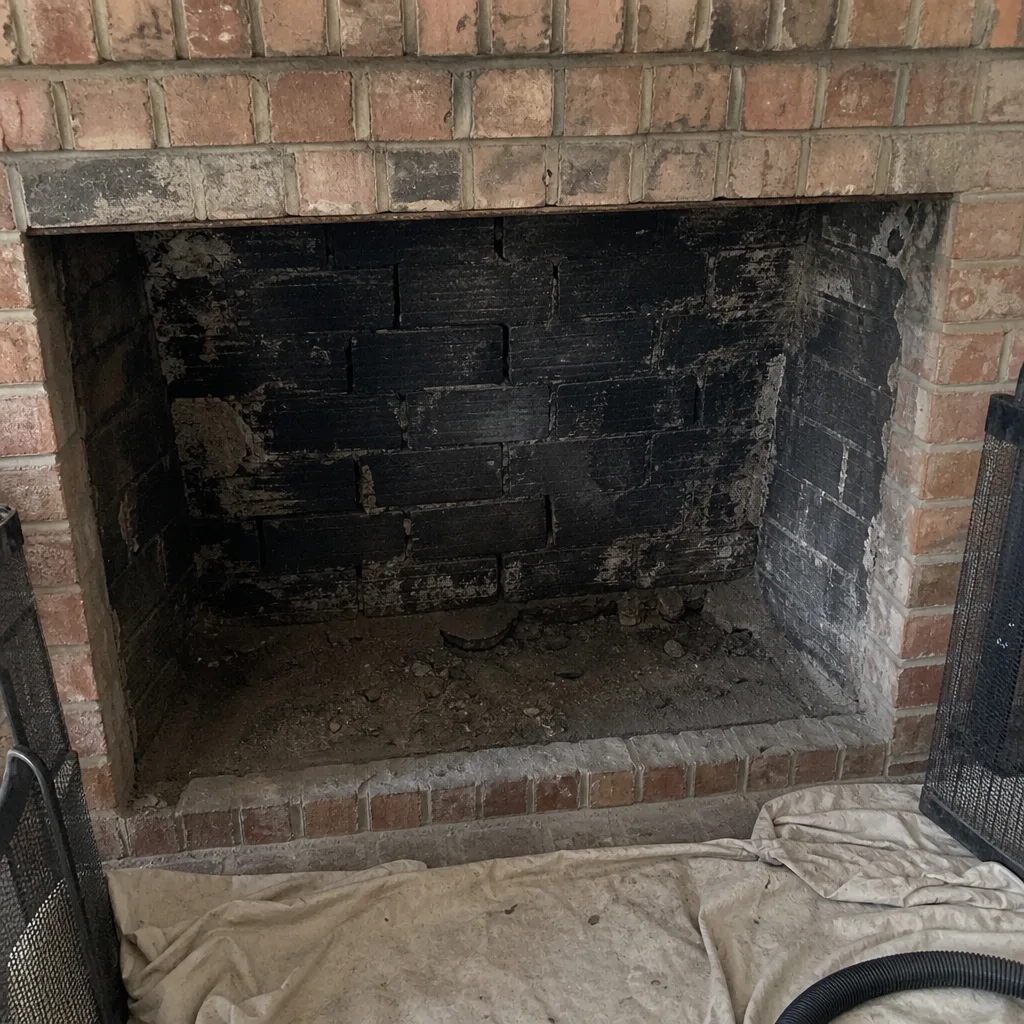 Before
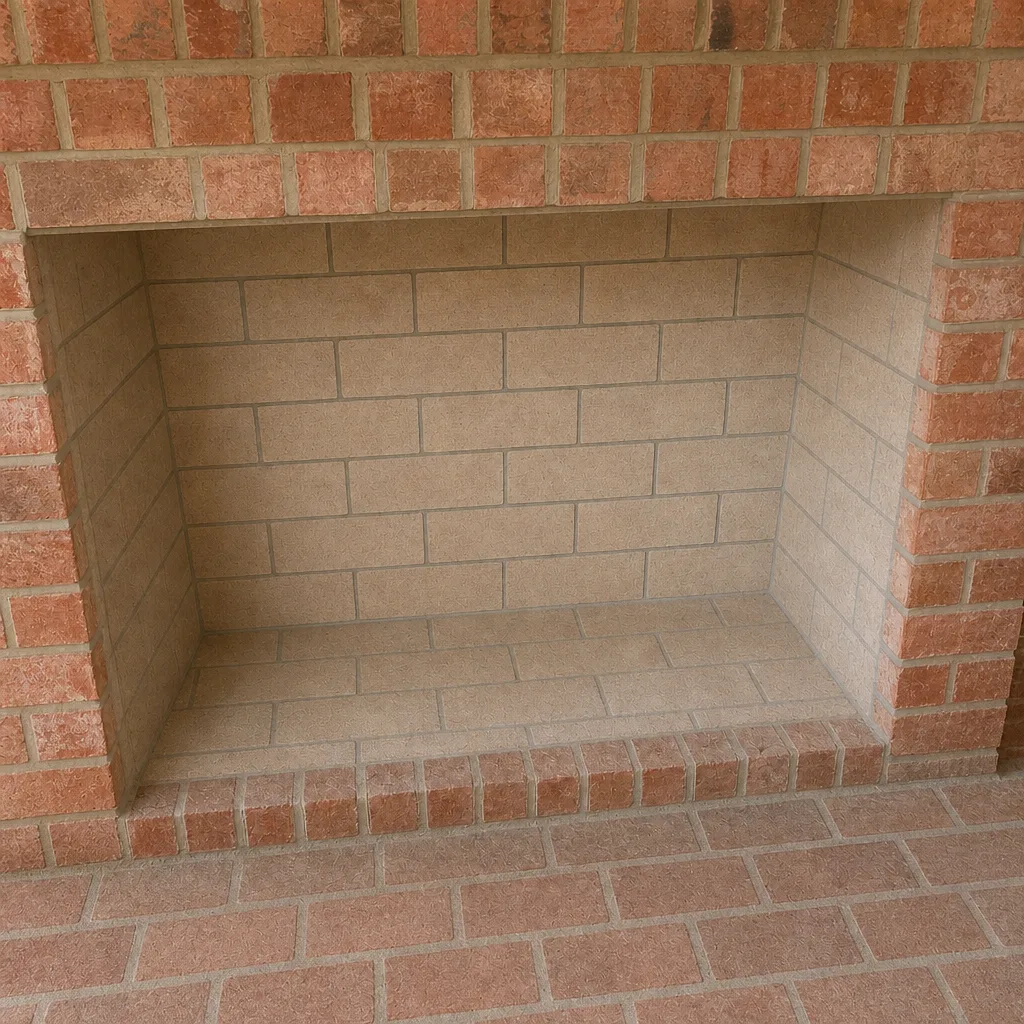 After
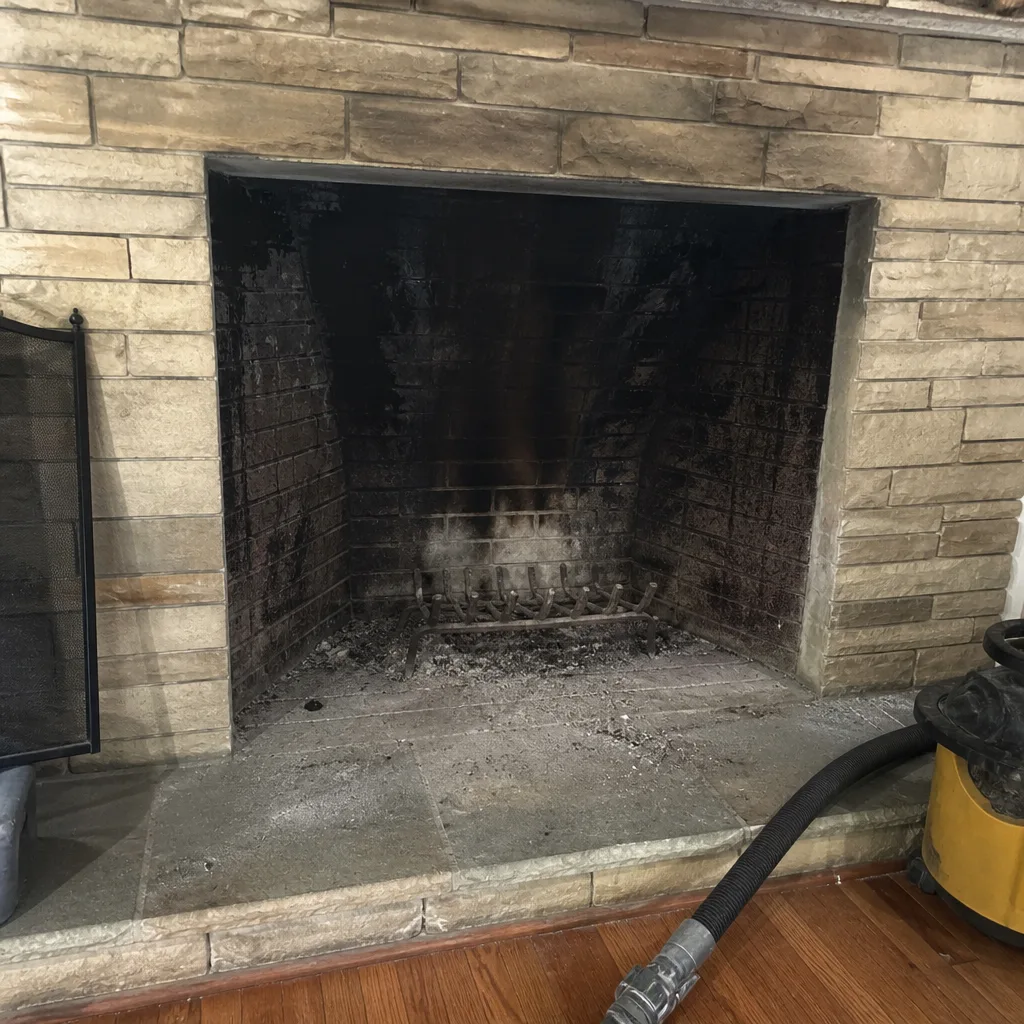 Before
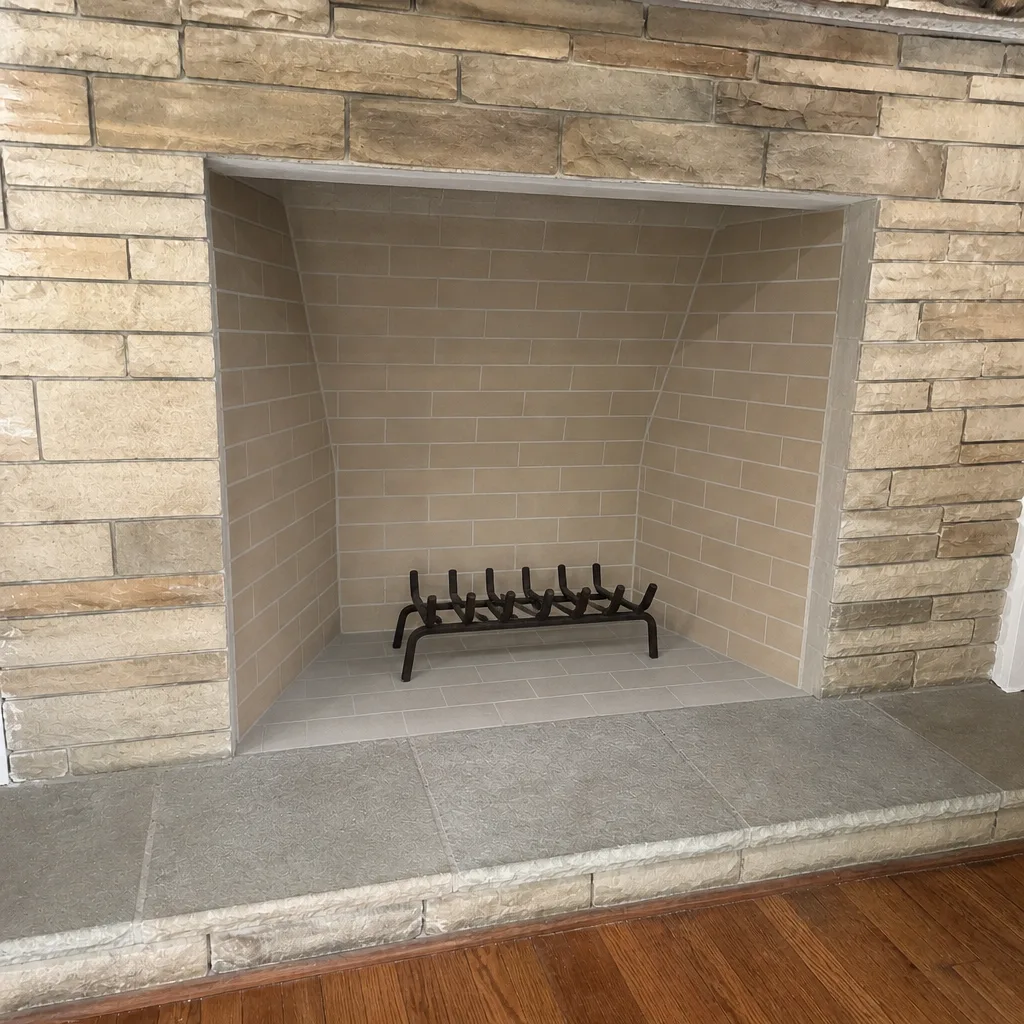 After
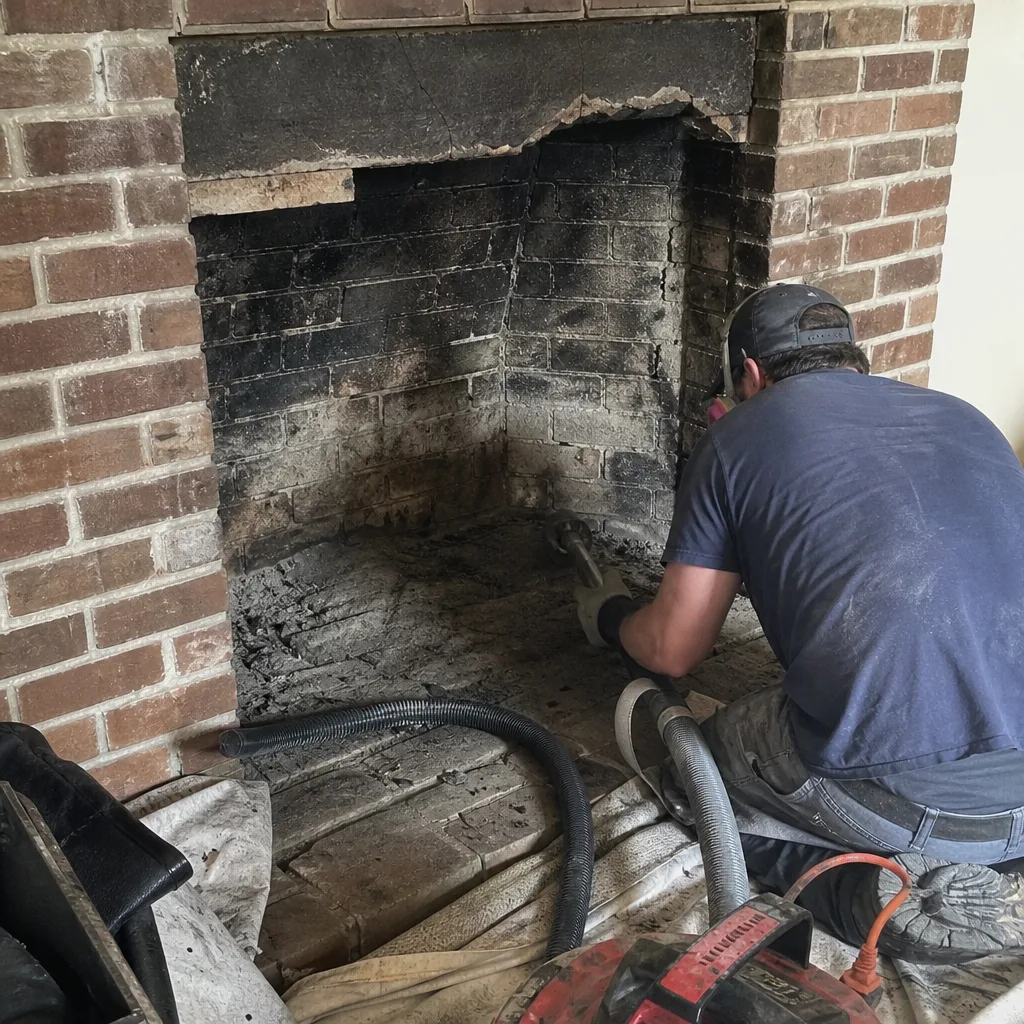 Before
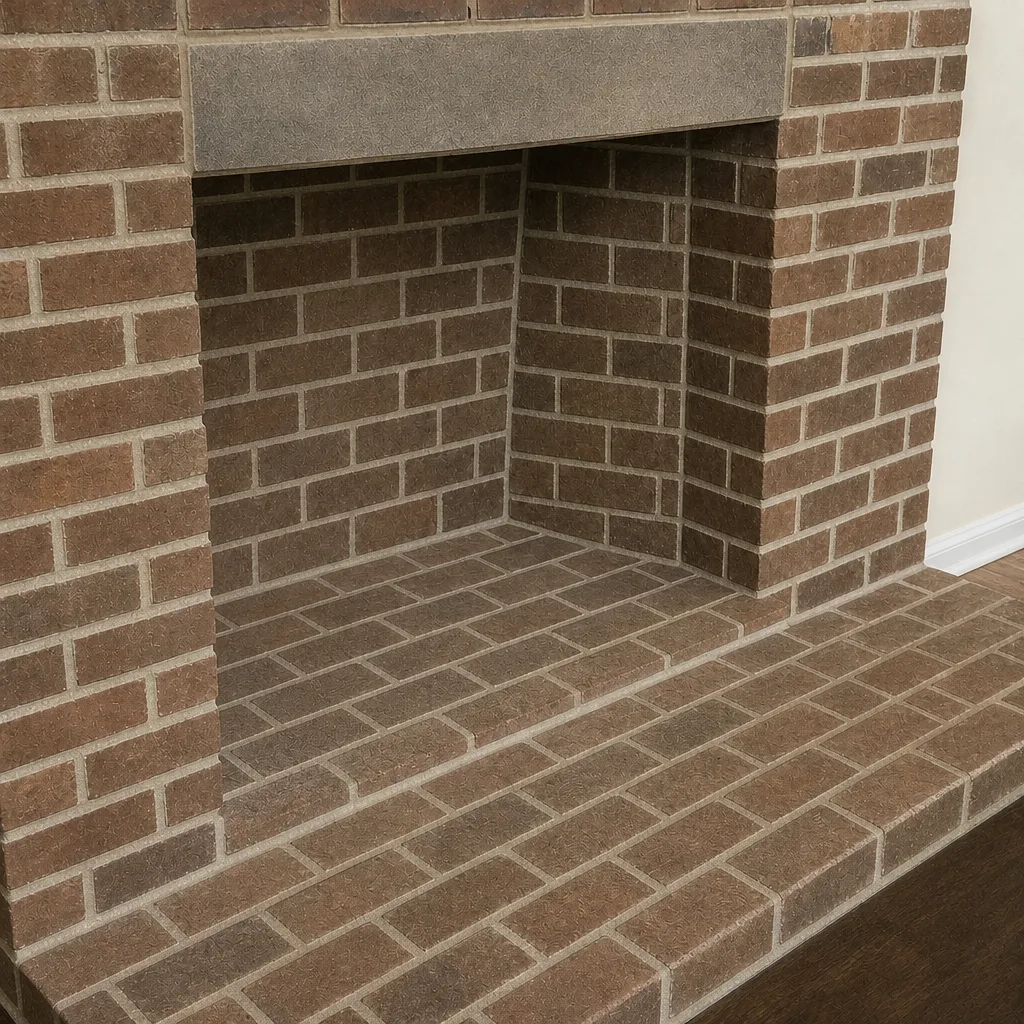 After
Frequently Asked Questions
Smoke rollout is almost always a pressure or draft problem, not a dirty chimney. The most common causes are a damper that’s not fully open or doesn’t seal, negative pressure from exhaust fans or a tight house, a restricted flue, or a chimney that terminates too close to a rival roofline or tree. Call us and describe whether it happens only when the house is sealed up – that narrows the diagnosis before we arrive. Call (844) 560-6386 for a free estimate.
White powder on exterior brick is efflorescence, which means moisture is migrating through the masonry and evaporating at the surface, leaving salt deposits behind. It’s a sign of a water entry point – a cracked crown, failed flashing, or a missing cap – not cosmetic wear. In Louisville’s freeze-thaw climate, letting it continue leads to spalling, where brick faces break apart and water reaches the liner. Call (844) 560-6386 for a free estimate before it moves from crown repair to masonry work.
You need a Level 2 inspection if you have staining, efflorescence, spalling, unexplained smoke rollout, a known chimney fire, a recent change of appliance or fuel, a recent home purchase, or slow ignition that a cleaning didn’t fix. A standard sweep covers routine creosote removal when nothing is wrong. The NFPA 211 standard defines both levels; a camera inspection is what separates them. Call (844) 560-6386 for a free estimate and we’ll tell you which level fits your symptoms.
Slow ignition usually means restricted draft or a blockage. The likely causes are a clogged cap screen, glazed creosote narrowing the flue, a flue that’s undersized for the appliance, or negative pressure competing with the chimney. A closed or partially open damper is the first thing to check. If a cleaning doesn’t fix it, the flue needs to be inspected before you keep burning. Call (844) 560-6386 for a free estimate.
It can make things worse in two situations. If your flue has glazed creosote, a rod-and-brush kit skips over the bonded layer and redistributes it into the smoke chamber, where it’s harder to reach and more combustible. If the flue is blocked by debris or a failed liner, pushing a rod into it can jam the blockage tighter. Standard dry creosote is fine for a DIY rod kit; glazed creosote and blockages aren’t. Call (844) 560-6386 if you’re not sure what’s in your flue.
Yes – a damper that opens but doesn’t seal is usually a warped, rusted, or bent plate on a traditional throat damper. The fix is normally a replacement damper, often a top-sealing type that caps the flue at the chimney top for a much tighter seal. Forcing a sticking damper to open is the mistake to avoid, because it bends the plate and creates the non-sealing problem you’re trying to fix. Call (844) 560-6386 for a free estimate.
Prevent Dryer Vent Problems Before They Become Chimney Problems
Lint buildup in a dryer vent behaves like creosote in a chimney: it accumulates out of sight, restricts airflow, and becomes a fire hazard when it ignites. The same combustion-safety framework we apply to a chimney system applies to a dryer vent, which is why we offer dryer vent cleaning as a formal service rather than a housekeeping add-on. If your dryer takes longer than it used to, feels hot to the touch, or the vent flap outside doesn’t open fully when the dryer runs, that’s a venting restriction worth clearing before it becomes a problem. One visit covers the chimney and the dryer vent together, so nothing gets overlooked because it was scheduled as an afterthought.
What to Do if Your Chimney Problem Is Beyond a Cleaning
Some of what this guide covers is maintenance – creosote removal, a cap replacement, a damper swap. Some of it, like a cracked liner, a failed crown, or spalling masonry, is repair. The distinction matters because a sweep-only service stops at the first category, and you’re left scheduling a second company to handle the rest. Our chimney sweep and repair capabilities run on the same visit, with HeatShield resurfacing for flue repair and DuraFlex liners for full relining when the flue is deteriorated. That means a cleaning that surfaces a liner crack doesn’t become two separate appointments with two sets of diagnostics. If you’re in Louisville and you’re not sure which category your symptom falls into, the camera inspection answers it. You see the footage, you get the diagnosis, and you decide what to do with it. Nothing is recommended without evidence you can see.
The Bottom Line
Most chimney complaints in Louisville aren’t mysterious – they map to a specific component once you know what to look for. Smoke rollout is a pressure or damper problem before it’s a cleaning problem. Efflorescence and brown streaks are early warnings of moisture and escape that become liner damage if left alone. Spalling and mortar crumbs mean the freeze-thaw cycle has already done its work. Glazed creosote and blockages make a DIY rod kit the wrong tool. When the symptoms cluster – staining plus rollout, a recent chimney fire, a changed appliance – a Level 2 inspection comes before the cleaning, not after. Sort the symptom first, and you’ll know whether you’re booking a sweep or a repair, and you’ll avoid calling twice.
Call Louisville Chimney Cleaning at (844) 560-6386 for a free estimate. We answer 24/7. Fast dispatch from 7am to 7pm, Sunday through Friday. We’re closed Saturday. Insured and bonded, with technicians who have up to 13 years of experience, and every recommendation backed by camera evidence you can see for yourself.
Written by the team at Louisville Chimney Cleaning.